-
By
- July 6, 2023
- Tiling Basics

How to Install Wood Looking Floor Tiles
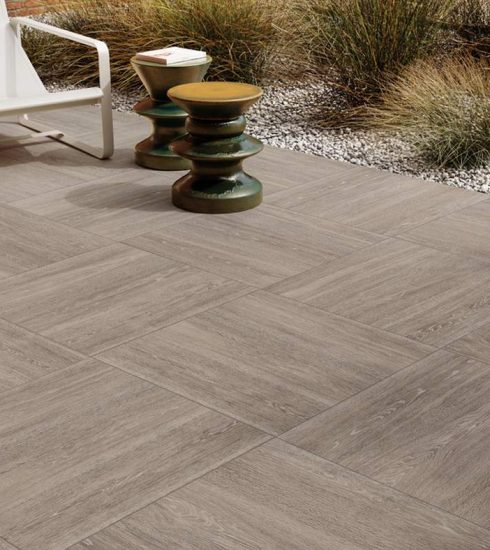
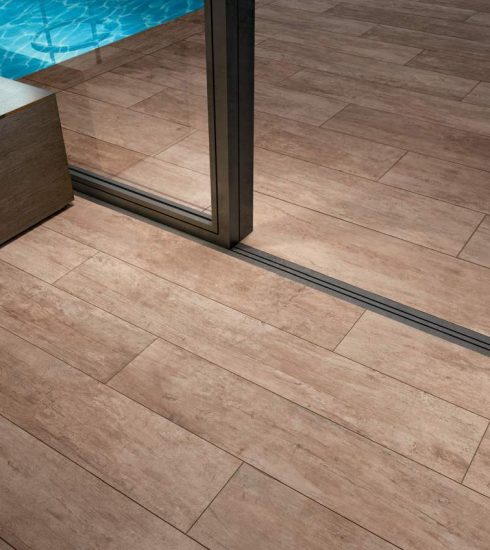
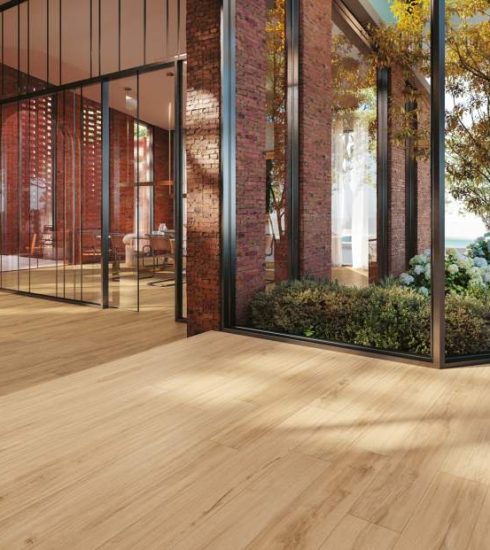
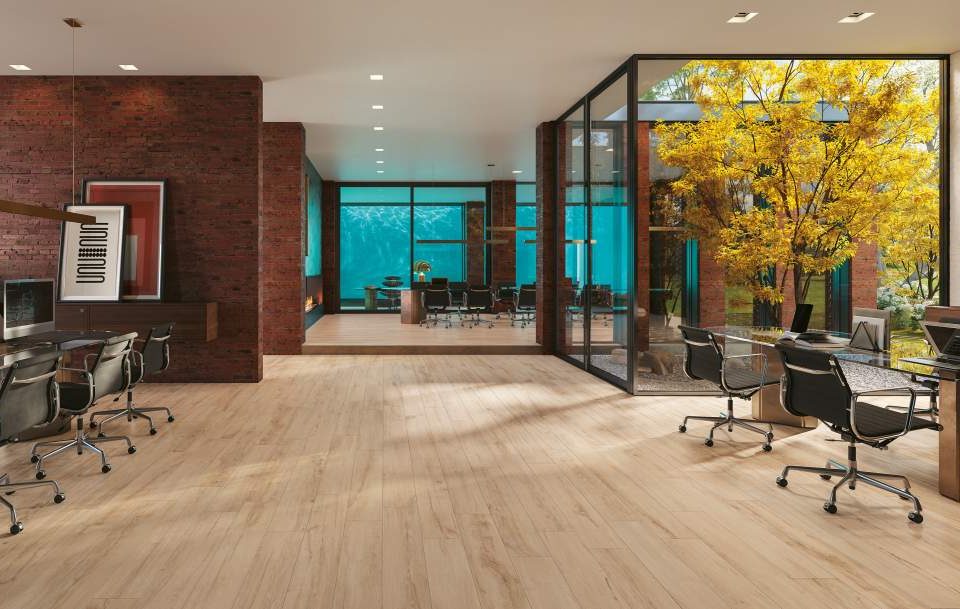
Wood looking floor tiles are a popular choice for homeowners who want the warmth and beauty of wood but also desire the durability and easy maintenance of ceramic or porcelain tiles. Installing wood looking floor tiles can transform any room into a cozy and inviting space. In this article, we will guide you through the step-by-step process of installing wood looking floor tiles, from preparation to finishing touches.
1. Prepare the Subfloor
The first step in installing wood looking floor tiles is to prepare the subfloor. Ensure that the subfloor is clean, dry, and level. Remove any existing flooring materials and repair any cracks or uneven areas. If necessary, use a leveling compound to create a smooth surface.
2. Plan the Layout
Before starting the installation, it is important to plan the layout of the wood looking floor tiles. Consider the size and shape of the room, as well as any obstacles or features that may affect the tile placement. Use a chalk line to create reference lines for alignment.
3. Apply the Adhesive
Apply a thin layer of adhesive to a small section of the subfloor using a notched trowel. Start at the reference lines and work your way towards the walls. Only apply enough adhesive that you can cover with tiles within the recommended time frame specified by the manufacturer.
4. Lay the Tiles
Place the wood looking floor tiles onto the adhesive, pressing them firmly to ensure good adhesion. Use tile spacers to create even gaps between the tiles. Continue laying the tiles until the entire floor is covered, working in small sections at a time.
5. Cut the Tiles
Use a wet saw or tile cutter to cut the wood looking floor tiles to fit around edges, corners, and obstacles. Measure carefully and make precise cuts to achieve a professional-looking installation. Always wear appropriate safety gear when using power tools.
6. Allow the Tiles to Set
After laying the tiles, allow the adhesive to dry and the tiles to set according to the manufacturer’s instructions. This typically takes 24 to 48 hours. Avoid walking on the tiles during this time to prevent any shifting or displacement.
7. Grout the Tiles
Once the tiles have set, it’s time to grout the joints. Mix the grout according to the manufacturer’s instructions and apply it using a grout float. Work the grout into the joints, making sure they are fully filled. Wipe away any excess grout with a damp sponge.
8. Seal the Tiles
Sealing the wood looking floor tiles is optional but highly recommended. A sealer will protect the tiles from stains and water damage, as well as enhance their appearance. Follow the sealer manufacturer’s instructions for application and drying time.
9. Clean and Maintain
To keep your wood looking floor tiles looking their best, regularly clean them with a mild cleaner and warm water. Avoid using harsh chemicals or abrasive cleaners that can damage the tiles. Sweep or vacuum the floor to remove any debris or dirt.
10. Enjoy Your New Wood Looking Floor Tiles
Congratulations! You have successfully installed wood looking floor tiles. Now, it’s time to sit back, relax, and enjoy the beauty and warmth they bring to your home. Whether you have chosen a rustic oak or a sleek walnut design, your new floor will surely impress your guests and provide a comfortable and stylish living space.
Wood looking floor tiles offer a versatile and practical alternative to traditional hardwood flooring. They are resistant to moisture, scratches, and fading, making them suitable for high-traffic areas such as kitchens, bathrooms, and entryways. Additionally, wood looking floor tiles are available in a wide range of colors, patterns, and textures, allowing you to achieve any desired aesthetic. Whether you prefer a classic herringbone pattern or a contemporary chevron design, wood looking floor tiles can effortlessly elevate the style of your home.
FAQs about Wood Looking Floor Tiles
Q: Can wood looking floor tiles be installed in bathrooms?
A: Yes, wood looking floor tiles are an excellent choice for bathrooms. They are moisture-resistant and can withstand the high humidity levels typically found in bathrooms. However, it is important to ensure proper sealing and grouting to prevent water penetration between the tiles.
Q: How do wood looking floor tiles compare to real hardwood flooring?
A: Wood looking floor tiles offer many advantages over real hardwood flooring. They are more durable, easier to maintain, and less prone to scratches and dents. Wood looking floor tiles are also more cost-effective and can be installed in areas where moisture and temperature fluctuations are a concern, such as basements and bathrooms.
Q: Can wood looking floor tiles be installed over existing tile or laminate flooring?
A: Yes, wood looking floor tiles can be installed over existing tile or laminate flooring. However, it is important to ensure that the subfloor is in good condition and properly prepared. The existing flooring should be clean, level, and free from any loose or damaged tiles.
Q: How long do wood looking floor tiles typically last?
A: With proper installation and maintenance, wood looking floor tiles can last for many years. They are highly durable and resistant to wear and tear. However, it is important to avoid dragging heavy furniture or sharp objects across the tiles to prevent any damage.
Q: Can wood looking floor tiles be used with underfloor heating?
A: Yes, wood looking floor tiles are compatible with underfloor heating systems. They conduct heat efficiently and can provide a warm and comfortable flooring surface. However, it is important to follow the manufacturer’s guidelines for installation and temperature limits to prevent any damage to the tiles.